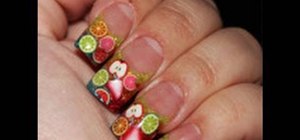
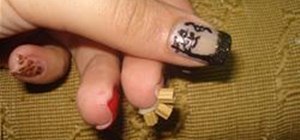
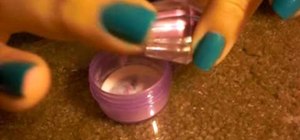
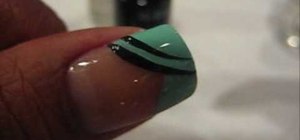
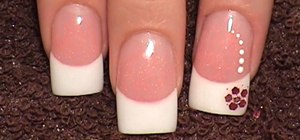
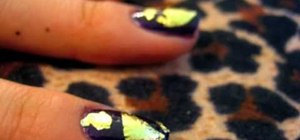
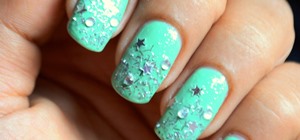
Jennisse shows how to do your nails 'Fruit Style', using acrylic glitter, in this tutorial. She begins by taking the natural shine away and bowing the nails down. A few coats of acid-free protein primer are then applied onto the nail beds. Next, some bright green acrylic glitter is taken onto a small brush and applied side to side, at the point where nail grows beyond the finger line. The nail is turned over to create a smile line. Then a thin coat of yellow glitter is added next, halfway behind the green coat. A burnt orange glitter is added to the 2nd half. A lilac glitter shade is used behind the yellow coat and orange line. A turquoise blue glitter is added next, alongside a roses glitter shade. The colors are blended at the edges and excess, if any, are removed using the brush. Now a thin coat of clear acrylic is used over the green coat. Now fruit cut-outs of apples, watermelons, lime, strawberry etc are placed over them. This procedure is repeated till the end of the nail, using different fruit cut-outs of various colors. Next, after dipping the brush in nail liquid, a coat of clear nail powder is immediately used over the fruits and acrylic glitter and pressed with the brush to set them in place. Next, a medium sized pearl of the nail powder is put right at the center of the nail and pressed, side to side. Another medium sized pearl is used at the cuticle area, spread and feathered out evenly. Some more clear powder can be used, if needed. A nail drill is used to shape the nail and dust is removed used equal parts of alcohol and water. A high gloss UV gel top coat is applied onto the nails and placed under UV light for 2 ½ minutes, to get a good shine. Finally, some cuticle oil is applied over the cuticles and gently massaged in. You are sure to grab all attention with these gorgeous looking nails!
Just updated your iPhone? You'll find new emoji, enhanced security, podcast transcripts, Apple Cash virtual numbers, and other useful features. There are even new additions hidden within Safari. Find out what's new and changed on your iPhone with the iOS 17.4 update.















Be the First to Comment
Share Your Thoughts