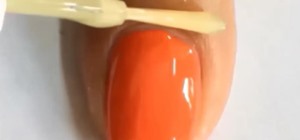
Begin by painting your full nails orange. Any orange will work for this design; just keep in mind that more than one coat of nail polish may be needed to get a bold and opaque shade. I did two coats of orange to get the coverage shown in the photograph.
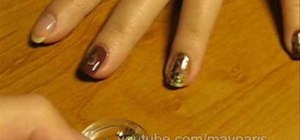
Using a liner brush like the one shown, or simply a really thin paintbrush, draw out stripes using acrylic paint. The shade I used is a mix of yellow and orange. Browns or any shade of orange that is different from your nail polish will also work well. (Nail polish can be used to make the stripes instead of acrylic paint, but your stripes will be much thicker.) Notice how none of the stripes I painted are perfectly straight - that is key in mimicking the roundness of a pumpkin. Slightly curve your lines and leave a bit of space down the center of your nail to create the illusion that you are viewing the shape of a pumpkin from straight on.
Now, using either acrylic paint or nail polish as either will work perfectly fine for this step, create some leaf shapes over the tips of your nails. Like my thumb and middle finger in this photo, overlap a few leaves as this will add some nice variety and keep all your fingers from looking identical.
Using your liner brush again, outline your leaves to give them more definition. Separate your overlapping leaves so their shape is more obvious. (To get this leaf-outline color I added a couple drops of white acrylic paint to the green shade I used to make the leaves.)
As always, coat all of your nails with a clear topcoat to protect your work and add shine to the acrylic paint.
Just updated your iPhone? You'll find new emoji, enhanced security, podcast transcripts, Apple Cash virtual numbers, and other useful features. There are even new additions hidden within Safari. Find out what's new and changed on your iPhone with the iOS 17.4 update.













Be the First to Comment
Share Your Thoughts